Friday, August 25, 2017

A Summer Holiday: Joining a workshop for 10th Art Exhibition in the Forest of Yokohama


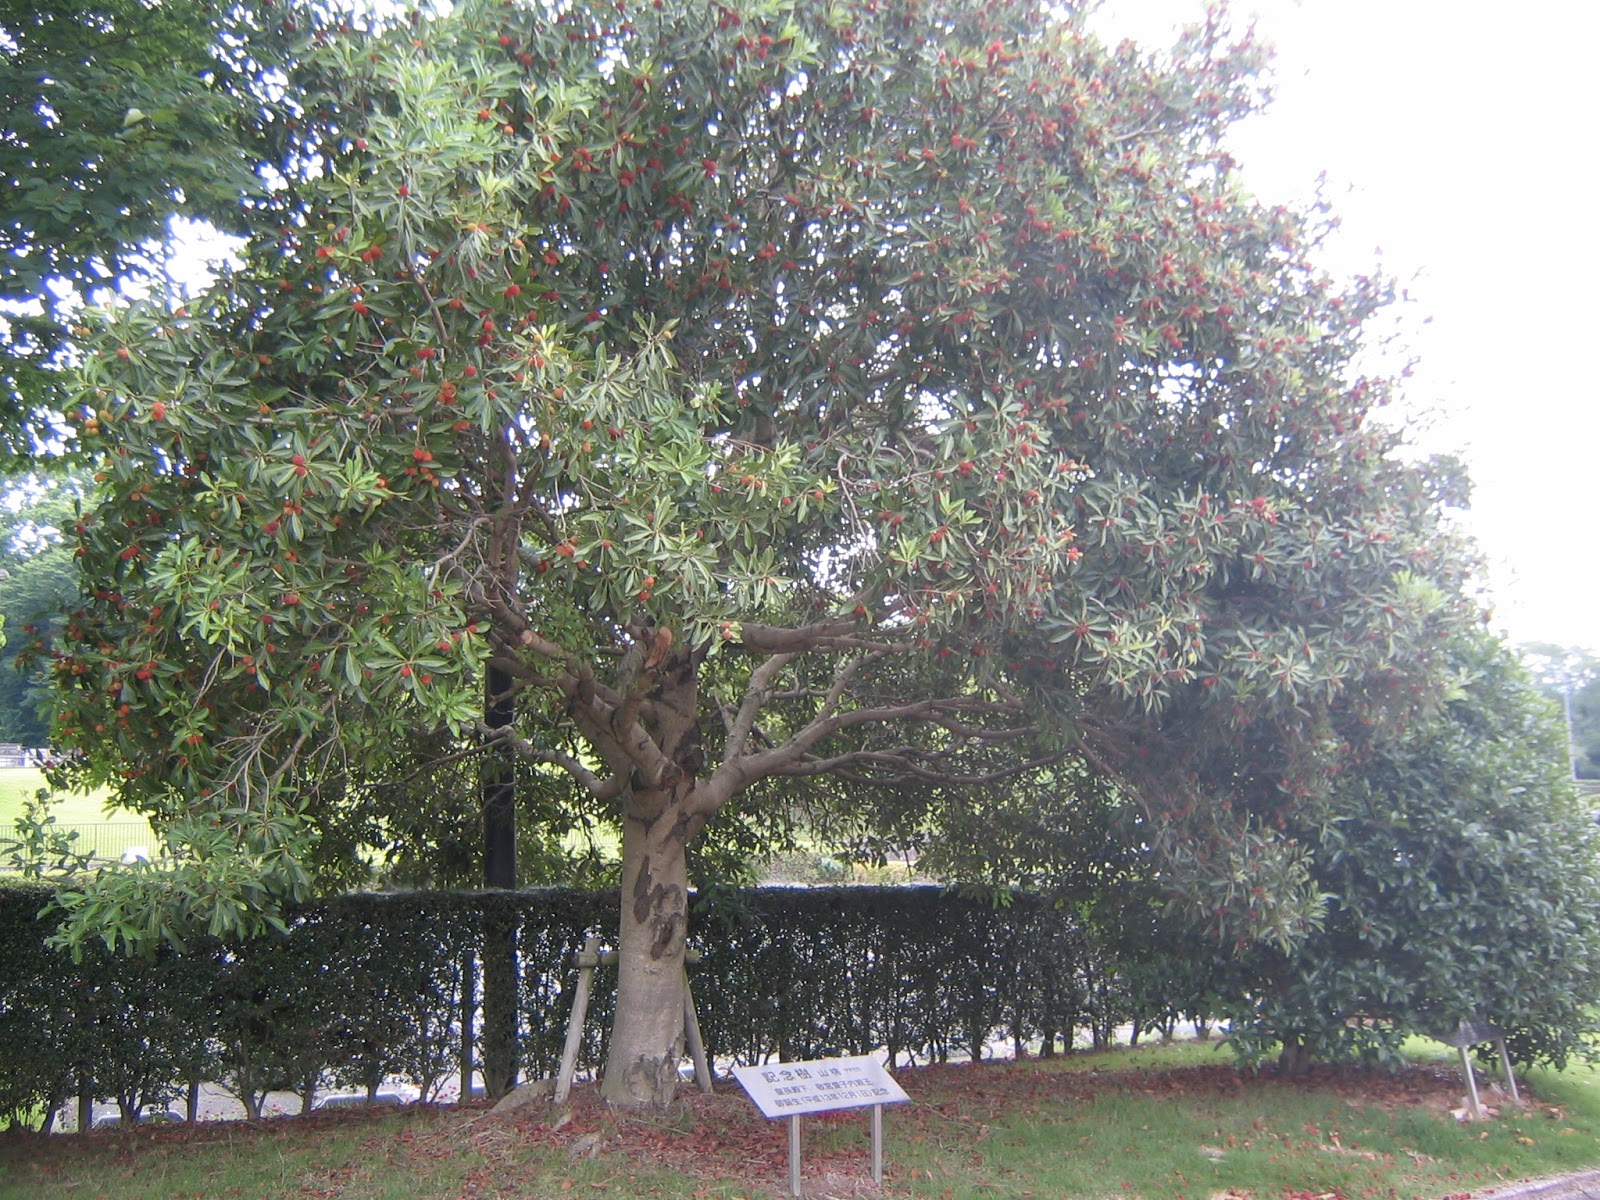
As I reported in my June 2nd post, this year 2017 Laboratory of the Forest is made of 6 series of workshops and an exhibition (September 10-24) of the installations created during the workshops. The place of the event is the forest attached to the site for this year’s National Urban Greenery Fair 全国都市緑化フェア that is planned to be a part of Yokohama Zoorasia Botanical Park. The final workshops will be held on September 2nd (“Sleeping in the forest”) and 10th (“Forest Cathedral”). The concept of this year’s exhibition by the GROUP the Creation and Voice of the Woods 創造と森の声 is letting the process of creating installations a part of exhibition for anybody to come and enjoy in the forest. On September 10th, making Forest Cathedral is expected to be completed by installing transparent color panels made of plastic films spread over gaps between twigs. By that date, all the installations for the 10th Exhibition is ready for audience. The twiggy dancers created during the first workshop last May for the Greenery Fair have moved there to join with the other works. One summer Sunday, I visited one of these activities for the Forest Cathedral. That was a fun! I tell you my experience with the people of the GROUP for Art Exhibition in the Forest of Yokohama. What I helped was preparing “Forest Cathedral” to be ready for plastic films.


Dancing twigs are moved from Urban Greenery Fair site.


The GROUP people thinned young Quercus myrsinifolia in the forest and used them to “build” a hexagonal pergola. The leaves of cut trees were removed but many of their twigs were left as such. Then, they erected “pillars” at each corner of roughly 7m diameter hexagon with 2-3 processed Quercus myrsinifolia. The tips of trees are twined at the top so that when the pillars were raised, the hexagonal pergola had beams of boughs at around 3-4m above. During the workshop on September 10, the participants are making color panels with plastic films and Y-shaped smaller twigs for max 30cm wide. The panes they create will fill the gap between the boughs.  When it’s done, the visitors in the pergola can look up the “canopy” where sunshine penetrates through colorful transparent films, which is expected to give a feel of stained glasses in a cathedral. To install color panels in the ceiling, the GROUP is planning to combine panels at the ground and use pulley to rift them up, but the lower gaps are expected to be filled by panes with twines and cable ties. When I joined their activity, the pergola was already built but the lower parts of the “canopy” had too wide gaps for color panels. My task was to create smaller spaces for the participants of 9/10 Workshop to fill the openings with their color panes.


A pile of thinned Quercus myrsinifolia
A sort of roof-top of the pergola
A prototype of color panels


The forest for the Exhibition is the property of the City of Yokohama. It’s a typical abandoned Satoyama forest where too old trees for fire logs, like Quercus acutissima and Quercus myrsinifolia, are freely scattering their seeds without human intervention. The GROUP told me the people of the city office said it was OK to “harvest” the materials for their art work from the forest so long as the activity was not dangerous. They cannot fell, say, a 20m tall Quercus serrata, but using ubiquitous young Quercus myrsinifolia is frankly welcome as a part of forest management. So, when I went there, they had a mountain of cut trees and branches. The first task was removing the leaves from the thinned trees and scattering them below the installation created during the Workshop 03 on July 28. That workshop, orchestrated by ASADA, was to create musical “instruments” in the forest. The art work was for anybody to bong the bamboos and jump on the wooden decks to create sounds in the forest. Inevitably kids used the installation as their playground and tumbling down from the platforms. The GROUP people decided to use the leaves removed for the Cathedral as natural cushions for kids to enjoy safely the art work. The morning I’ve been there were still misty in the forest. Plucking leaves to make a pile of cushions was actually very meditative. I tried the leafy ground in the middle of the process. It certainly returned gentler rebounds for legs. I hope my leaf-pulling can provide a safer space for kids …


Making natural cushions
Anybody can hop and jump
to create sounds there.


The leaf-less trees are then used to make the ceiling and walls of the Cathedral denser. First, I had to identify a gap that is too wide for color panes. Then, I chose a tree / bough / twig whose shape and size could provide an effect suitable for Y-shaped panels to fill the gap. Bringing a chosen material to the pergola and trying the branch to a gap, sometimes we found the size of the tree is too small/big to be twined to the pillar. Or the shape of the bough did not create an anticipated impression. I then had to return to the pile of leaf-less trees and restart selecting a material. When a tree was just right, the next task is attaching it to the post in a right angle securely enough to withstand average storms in Yokohama. “Tying at least 3 points would be a safer option, we guess,” Mr. Ishiyama of the GROUP advised me. Though the process required certain techniques to master during the process, and it surely takes time, I found it really a fun. I imagined what kind of color kids for 9/10 Workshop would choose for that particular space … then proceeded to the next hole. By the afternoon, the mist disappeared and a bit of sunlight came down between the taller canopies of the forest. Japonica saepestriata and Lethe sicelis were flying by when I was struggling with wires to secure the tree. That’s a kind of ideal way of spending a summer holiday.


A pile of material for art work
Mr. Ishiyama is tying a bough
to the beams.
The pergola is still too spacy
… more work is necessary.


The most frequent transportation services to the forest of the GROUP is to ride a bus either from JR Nakayama 中山 station or Sotetsu Tsurugamine 鶴ヶ峰 Station. There are the routes Asahi 11 and 15 both of which connect two stations. (From Nakayama, the time table is here. From Tsurugamine, the table is here.)  If you take a bus from Nakayama, get off the bus at Kohdan-Shukaijoh-mae 公団集会場前. If you turn right from the bus stop, beyond the traffic light, you’ll find a building looks like an old school. It is now-defunct Hikarigaoka Elementary School ひかりが丘小学校. If you ride a bus from Tsurugamine for Nishi-Hikarigaoka 西ひかりが丘, it actually takes you in front of this building at the bus stop, called Nishi-Hikarigaoka, the final stop. In any case, first you walk a bit to the direction of Hikarigaoka Elementary and turn left at the first corner from the Nishi-Hikarigaoka bus stop. Go straight. Eventually you enter a small, paved and steeply climbing-up road between the forest on the right and a retirement housing complex, Care Home Yokohama and Villa Yokohama, on the left. Pass the top of the hill seeing a downing slope on the left between the Care Home and Villa. At this point on the edge of the forest, there is a big banner saying “創造と森の声.” From there, keep on going 10m or so along the forest, and on the right we see the entrance for the workshop. Another bus route we can use is the bus to Zoorasia. Use Asahi 9 and 10 to Zoorasia of Sotetsu from Yokohama (time table, here) or from Tsurugamine (time tables, here and here) Stations. Sotetsu Bus has another service from Mitsukyo 三ツ境 Station with Asahi 33 and 34 (time table, here). There also is City Bus service Route 136 to Zoorasia from JR Nakayama Station (time table, here). Get off the bus at Yokohama Zoorasia, and proceed further along for about 400 m to the direction of #2 Parking of the Zoo. On the right, there will be a small gate with the sign GROUP the Creation and Voice of the Woods. If you visit the place during weekends, many Asahi 10, 33, 34 and Route 136 buses will take us to the North Gate of Zoorasia (terminal stop) that is the closest to the workshop entrance. When you leave the terminal stop of Zoorasia North Gate, go back a bit along the bus road, and on the left there is the sign for the GROUP.


The gate to the forest for the Exhibition from Zoorasia
The entrance to the place
The banner you’ll find if you come
from Nishi-Hikarigaoka bus stop


The art works created during the Workshops will be in the forest till 24th of September, and dismantled in turn to disappear completely by the end of September. Please come and enjoy the installations in Yokohama’s forest, before they are gone.


If you find a problem in the site introduced in this post, the best contact address will be GROUP the Creation and Voice of the Woods.

www.facebook.com/SouzoutoMorinokoe1997
blog.goo.ne.jp/souzoutomorinokoe
e-mail: morinokoe7@yahoo.co.jp

The events also receives grants from Culture and Tourism Bureau of the City 横浜市文化観光局. The contact address of the Bureau is

Minatocho, Naka-ku, Yokohama, 231-0017
TEL
: 045-671-3715 FAX: 045-663-5606
URL: http://www.city.yokohama.lg.jp/bunka/bunshin/torikumi/artsite/


Friday, August 18, 2017

Delight of Crimson Red: Cooking Japanese bayberry


For “bounty hunters in forests,” August is the month to have a rest in Yokohama and Kanagawa.  In Kanagawa’s forests during a final week of August, the autumn begins with chestnut gathering. Until then, collecting natural goodies is generally in a pause for about a month. Before entering the summer recess, there is a task representing the end of spring season. That’s to collect Japanese bayberries. Japanese bayberries, or Yamamomo (Myrica rubra), is medium sized broad-leaved evergreen native in semi-tropical area of East Asia. Kanagawa and Chiba prefectures are almost the northern limit of the range of Myrica rubra. They thrive even in poor soil so that our ancestors planted them along the coast lines or hot and dry mountain ridges. They are dioecious of understating flowers in March-April.  Then, for a brief period of late June - early July, established trees bear numerous crimson-red fruits. Although they look like strawberries, it is actually a stone fruit with knobby surface. They taste sweet and sour with lots of carotene and potassium (about ½ of the same weight of bananas). I think in metropolitan Tokyo the fruit is a sort of known only by aficionados.


Myrica rubra


In southern region of Japan, the tree is more common. Kochi 高知 and Tokushima 徳島 Prefectures in Shikoku Island 四国 designate Yamamomo as their prefectural flower (Kochi) or prefectural tree (Tokushima). Especially in Tokushima Prefecture, in the 17th century Hachisuka samurai clan 蜂須賀家, the lord of Awa (Tokushima) Province 阿波国, ordered their samurai subordinates to plant the tree in their gardens and forests with the purpose of preventing soil erosion, and of substitute foods preparing for famine. As such, Japanese bayberries as fruits are the delicacy from Shikoku Island. But Kanagawa prefectural government also plants the trees in our parks along Shonan Beach. With a reasonable self-restraint, we can collect bayberries from the artificially planted trees in parks. Those who came from Shikoku Island trash the berries in Kanagawa. “Oh, those are shabby produce comparing with the fruits from my home town!” “My family’s Yamamomo is far sweeter.” Er, OK. Though, I think Yamamomo in Kanagawa’s parks are good enough to be tasty jam and other products. This week, I tell you how I prepared this year’s Japanese bayberries collected from a park near Hakone 箱根.


First, harvesting. It’s possible to start collecting pinky fruits when many of them are still green. They can be eaten already at this stage, but the berries are sourer. Naturally, more ripened dark-red version is sweeter. So, unless you aim for tangier jam or liquor, it would be better to wait for few more days. When the fruits are fully matured, they fall off from the tree naturally; for a large tree, the scenery feels like a rain of bayberries. If the ground is soft enough we can collect beautiful berries from the ground. Actually, at this stage I found it tricky to pick fruits from trees as it is easy to squash the flesh of berries with fingers ... Japanese bayberries can be eaten fresh but they have distinctively clinical smells so that they might be in the category of “acquired” taste. The ripening fruits also attract drosophila for blowing. So, it is highly advisable to soak the berries in salted water for at least 3-4 hours before eating or cooking. Drosophila eggs and larvae are not poisonous by themselves, but it’s a matter of … er, human mentality regarding food. Some say 1-2 hours is enough for deworming, but I took safer approach and left the batch overnight. Next morning, I found tiny carcasses of larvae sunk at the bottom of the salty water … macabre peace of my mind … 😅


Ripening Japanese bayberries.
At this stage even the red ones are still tangy.
Please compare it with the above photo.
This is for the fruits ripened.
They are falling like raindrops.
The harvested fruits are washed under the running water.
When washing, better taking off the stems
especially when you plan to make a preserve.
Soaking Japanese bayberries in 3-5% salted water.
With this level of concentration,
the eggs of drosophila definitely die.
Their tiny white larvae come out from the fruit
to escape the torture and be killed anyway by dehydration.
Dewormed Japanese bayberries.
After overnight soaking, I washed them carefully
to remove any carcasses of larvae and dirt.


Washed and dewormed Japanese bayberries run fast so that we have to process the fruit within 2 days of harvesting. The easiest is to make Bayberry liquor, sour and syrup. They’ll be done within 5 minutes each for preparation. Bayberry syrup is made of rock sugar and berries stored alternately in a distilled jar. It’ll be ready in 2 weeks or so. This year I made bayberry liquor and sour. For bayberry liquor, I put prepared bayberries and rock sugar alternately in a clean glass jar, then poured white liqueur. The most gorgeous alcohol to be used in this way in Japan is Okinawan distilled spirits, called Awamori 泡盛 … but they are not cheap in Yokohama. So, I use regular distilled alcohol of at least 35% alcohol percentage. For bayberry sour, distilled alcohol is replaced by white vinegar. After placing the prepared jars in cool and dark place, we wait … Bayberry sour will be ready within 3-4 days, but the taste matures if we can leave it for at least a month. For bayberry liquor, we should wait for at least a month, and leaving it more can make the taste mellower.


Bayberry liqueur after 2 weeks of preparation.
The smaller jar has 1 portion (g) bayberry,
1 portion (g) of rock sugar and 1.5 portions (ml) of distilled alcohol.
The bigger jar is 2 portion of bayberry,
1 portion of rock sugar, and 3.6 portion of distilled alcohol.
I plan to open them in late September.
Bayberry sour after 2 weeks of preparation.
It has 1 portion of bayberry,
1 portion of rock sugar,
and 1 portion of rice vinegar.
Some say apple cider vinegar adds flavor,
but I decided to use rice vinegar
in order for the taste of bayberry to stand out.
They’ll be opened at the same time for bayberry liqueur.


I also made bayberry jam. This process is more time consuming.

  1. Put the prepared bayberries in non-reactive pan and pour in just enough water to cover the fruits.
  2. Bring to boil the pan with medium heat and cook until the fruit is soft enough to be crushed.
  3. Strain the cooked bayberries to remove the stones. If you puree the bayberries finer, the end product is more “preserve” without much trace of fruit flesh. If you prefer rustic jam, just removing the stones would be enough.
  4. Measure the weight of strained bayberries. Return the pureed bayberries into the non-reactive pan and add sugar of 30-50% weight of berries. Bring to boil, and keep stirring to dissolve the sugar and to reduce the puree to the consistency of your choice. During this stage, maintain the heat at the highest point just preventing the contents to be burned. Don’t employ low heat and cooking for a prolonged time. The quicker your job, the brighter the color of the jam at the end will be. Also, the puree becomes sticky rapidly so that the more you cook, the more the consistency of the preserve is. It’s up to you when to stop cooking. Some recommend adding lemon juice with sugar, but I found my bayberries are acidic enough to coagulate rapidly without any help.


Cooking bayberries
Removing the stones from cooked bayberries.
The size of a bayberry stone is similar to an American cherry.
Reducing the mixture of
2 parts bayberry puree and 1 part sugar.
We have to stir constantly.
My bayberry jam
Another bayberry jam of mine.
For this one, I strained the cooked bayberries more.
It has become more jelly like.


The taste of my bayberry jam is tangier than store-bought strawberry jam. I added sugar in 50% weight of bayberry puree so that mine would be sweeter than that of 30%. Even though I notice strawberry jam marketed by Imperial Hotel is far sweeter … No wonder people say home-made jam is healthier. Now I am waiting for my bayberry liqueur and sour to mature. They’ll be on time to accompany with the autumnal harvest. 😋

Friday, August 11, 2017

Waste management: Packing lunch with bamboo shoot skins


Satoyama forest in Kanagawa Prefecture is really rich. Especially from early spring to late autumn, to do list of forest management includes harvesting the bounty from the forest. Take bamboo forest. Unless we thin bamboo shoots in spring, the forest becomes too dark and could be in danger of landslides for mountainous Yokohama and Kanagawa. We collect bamboo shoots vigorously from April to June and carry them home. A-hem! It’s not that we are gluttons. We have to collect them! Although this year we could not have a bumper crop of bamboo shoots as last year, I now have a decent stock of frozen bamboo shoots, both of Phyllostachys edulis and Phyllostachys bambusoides. At home, I boiled them in a pot with a plenty of water, with 1 tbsp baking soda for Phyllostachys edulis; Phyllostachys bambusoides does not need the soda. When they became tender enough to be poked with a skewer, I rinsed them under running water; this process is important especially for Phyllostachys edulis as they were boiled with soda that could leave bitter taste. Next, I sliced them and stored in Ziploc for freezing. One of my seniors at Lovers of Niiharu told me dusting sliced bamboos with sugar at freezing could keep the taste better. So I made a separated butch of bamboo shoots with sugar this year. They would be a part of 2018 New Year’s menu. 😋


A forest of Phyllostachys bambusoides in Kanagawa Prefecture.
Though Kanagawa Forest Instructors thin the place annually,
it becomes like this every June with new shoots.
Unlike
Phyllostachys edulis, taking out the shoots of Phyllostachys bambusoides is just like thinning ordinary trees …
actually, we knocked them down by hand.
They were so soft.
The tips of young Phyllostachys bambusoides shoots are edible.
They were boiled in water and sliced for freezing.
Like this. 👻


This year I unpeeled the skins of bamboo shoots several times. I tell you, before reaching creamy-colored bamboo shoots, we have to take off bamboo hulls of probably larger volume than the edible part. I thought it’s a waste throwing them out. Before plastic wraps or Ziploc, bamboo skins were ideal food containers for lunch and other occasions. There are lots of Japanese senior citizens who tell their childhood memories of snacks wrapped in bamboo husks. If you visit Amazon or Tokyu Hands, they sell 10 dried bamboo skins for about $7 to wrap lunch. Well, I had tons of skins of bamboo shoots in front of me … I decided to experiment with the skins of Phyllostachys edulis shoots which is wider than those of Phyllostachys bambusoides and hence possible to act like a wrapping paper. The result was, “80% success.”


The image to wrap rice balls with a bamboo husk.
The way to use store-bought bamboo husks is explained here.
They are the bamboo shoot skins I tried.


I realized the outside of the hulls of Phyllostachys edulis shoots is covered with fine soft hairs, although those available from Amazon are glossy inside-out. But the hairs can be removed just by scrubbing them under running water. I cleaned them inside out with brush, and dried them for about a month. They shrunk their volume and became hard.


Before scrubbing.
They were this much hairy.
I am partial for this organic scrub brush made of palm.
After scrubbing, the skin becomes more or less smooth.
Drying the washed bamboo skins.
I expected the sanitization effect of sunshine.
The end product


Quick googling told me before using dried bamboo husks, we have to steep them in water for at least 3 hours. Although my bamboo hulls are hard when it’s dry, they can return soft within 30 minutes. They are in the end baby garment for bamboos, and so basically very supple. That’s convenient for quick soaking in morning, but it means they are softer than the commercialized product imported from China. It makes my bamboo wrappers a bit tricky to be folded. Normally, before wrapping anything with a bamboo skin, we cut an edge of the husk to harvest a string in order to tie the package. My bamboo twines are too weak to bind a packet … So, I’m using rubber bands instead. My volunteer seniors told me it would be worth while trying again with the fallen skins that can be harvested in late summer. Those are the bamboo husks of 20m high young bamboos. It could be stronger, they said. Hmmm. Let me try.


The beginning of soaking
It regains its original form
after 20 or so minutes.
Before wrapping, I cleanse inside out of
the bamboo skin with alcohol swab (just in case).
My rice balls to be wrapped.
The menu of that day was
“Rice balls with plum pickle and
julienned kelp stewed in sweetened soy source,
wrapped by salted Shiso leaves.”
They are now wrapped by bamboo hulls
and closed by rubber bands.


Regardless, the taste of rice balls wrapped in my bamboo shoot skin is definitely superior to the beautifully packaged rice balls in plastics sold in department stores. Bamboos contain acetic acid that can act as a natural food preservative in this humid country. Moreover, the rice balls that are warm when packed gradually cool down, and the bamboo hulls absorb the vaporization and prevent the contents from becoming too dry. Until lunch the rice balls are kept soft and delicious even in mid-summer, unlike tightly packed and refrigerated Onigiri in Kombini stores. My rice balls are delicious! Although I have not tried my bamboo skins for sandwiches, they would act in the same way. If you have a chance to obtain bamboo skins from Amazon or somewhere, please try. I guess they can make your packed lunch tastier.


Kanagawa is in high summer!


Oh, by the way the very tip of Phyllostachys edulis shoots is the delicacy for people who know such things. To harvest this part, you boil the shoot together with some skins and cut the tip at about an inch. Peel the harder husks of the tip carefully and obtain creamy layers inside. They are edible, good for spring salads. In Japanese, this part of bamboo shoots is called “Princess Hulls 姫皮.” It might be difficult to meet the princess in restaurants even in Kyoto. If you have a chance to harvest shoots, you’d better try them by yourself. 😇